Showing posts with label chocolate. Show all posts

Friday, July 2, 2010

Chocolate Bourbon Cake


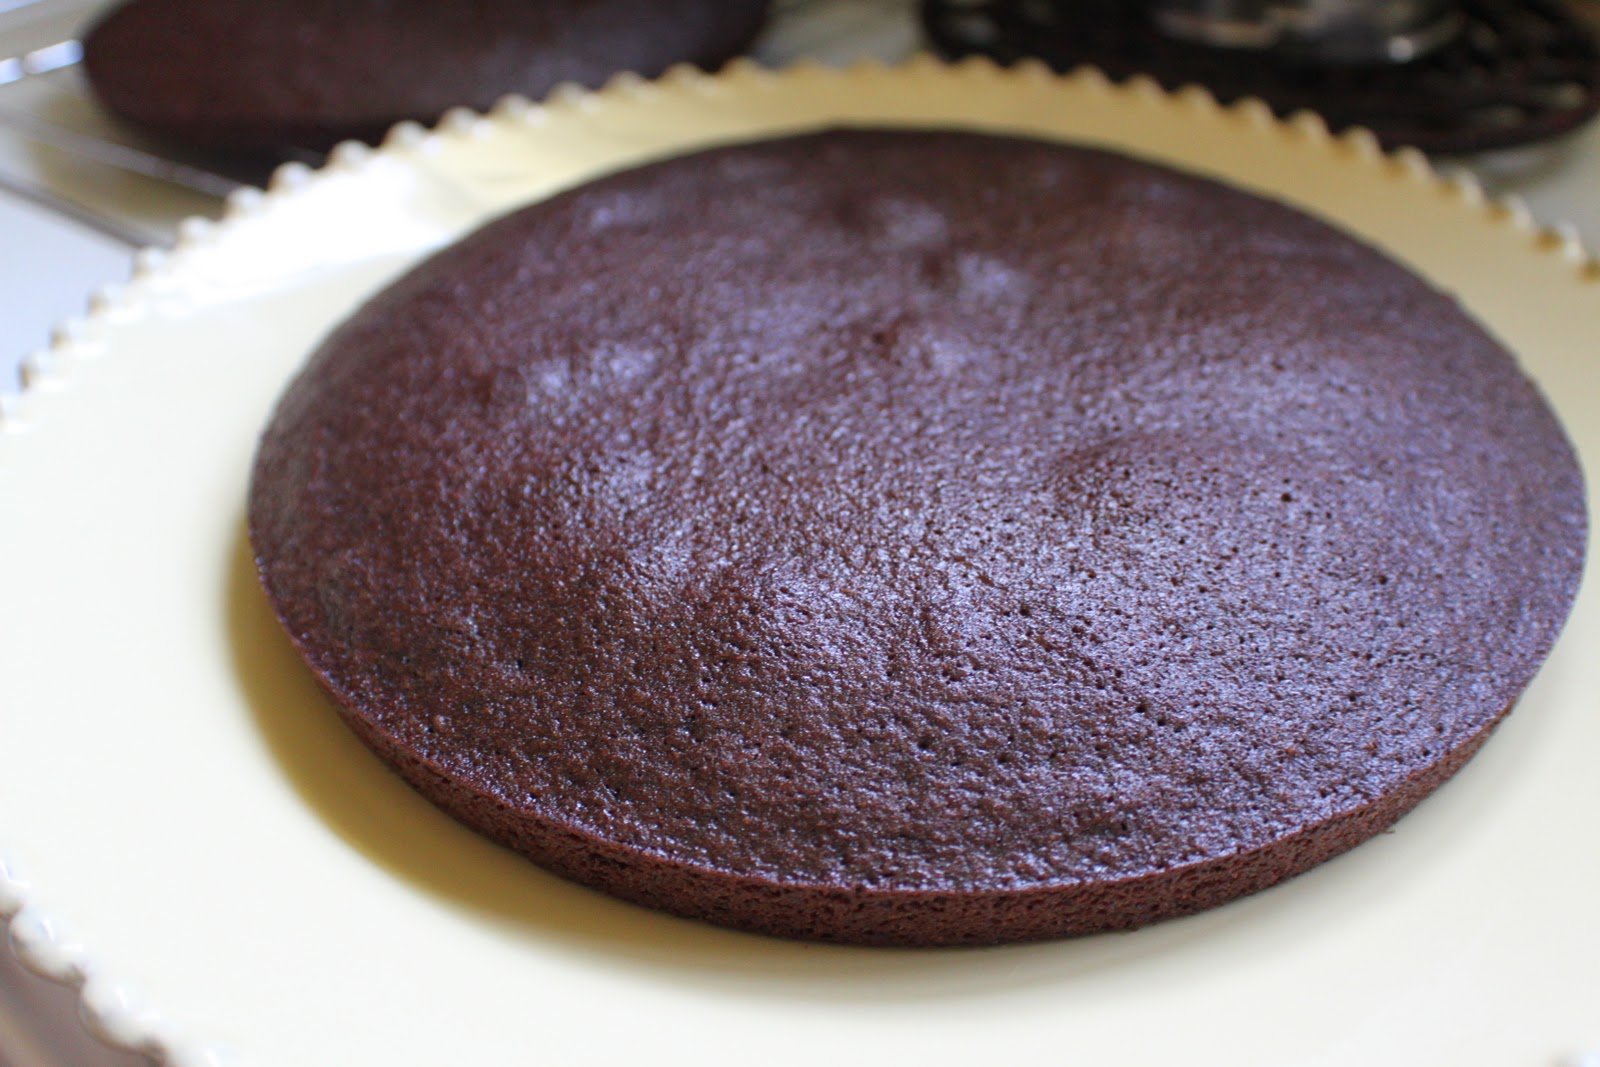
There's something about a chocolate cake infused with alcohol--usually bourbon whiskey--that just wreaks of classiness.   Maybe it's the bourbon I smell, but I smell classy.

It's no surprise, then, that this recipe comes from The New York Times food and dining section circa 2008.  I always go to the NYT recipe section for innovative food ideas and this bourbon-infused cake has innovative down.

As innovative as it may be, my friend John refers to the this recipe as the "alchy cake" where "each bite is like taking a shot."  So bakers beware: for as much chocolate as this cake is packing, it's also packing a significant amount of booze.  However, since this cake is a bit on the boozy side, feel free to reduce the whisky from 1 cup to 3/4 of a cup or 1/2 of a cup for less of the alcohol content based on your taste preferences.  The cake will bake just fine with less alcohol (it'll be denser), but you should definitely bake it with some bourbon.

Chocolate Bourbon Cake
This recipe comes from the New York Times food and dining section (the original can be found here).  But, I must give a shout out to Ms. Elise Bauer over at Simply Recipes for trying and cataloguing said recipe; and thus, verifying its deliciousness.  For Elise's version of the recipe, see here.

Ingredients:
* 2 sticks butter, softened
* 2 cups all purpose flour
* 5 ounces quality dark chocolate, melted (can substitute with 5 ounces Nutella)
* 2 tablespoons cocoa powder, unsweetened
* 1/4 cup instant espresso, coffee, or regular coffee
* 1 cup bourbon whiskey (can use 3/4 cup or 1/2 cup depending on preferences)
* 1/2 tsp kosher salt
* 2 cups sugar
* 3 large eggs
* 1 tsp vanilla extract
* 1 tsp baking soda
* 1/4 cup confectioner's sugar, for sprinkling

1.) Preheat oven to 325F.  Grease a 10-12 cup bundt pan.

2.) Add cocoa powder, instant coffee to a heat-safe measuring cup and add boiling water to the 1 cup fill line.  Allow to cool.


3.) Add salt and 1 cup whiskey bourbon (or lesser amount depending on your preference).  Stir well to integrate.


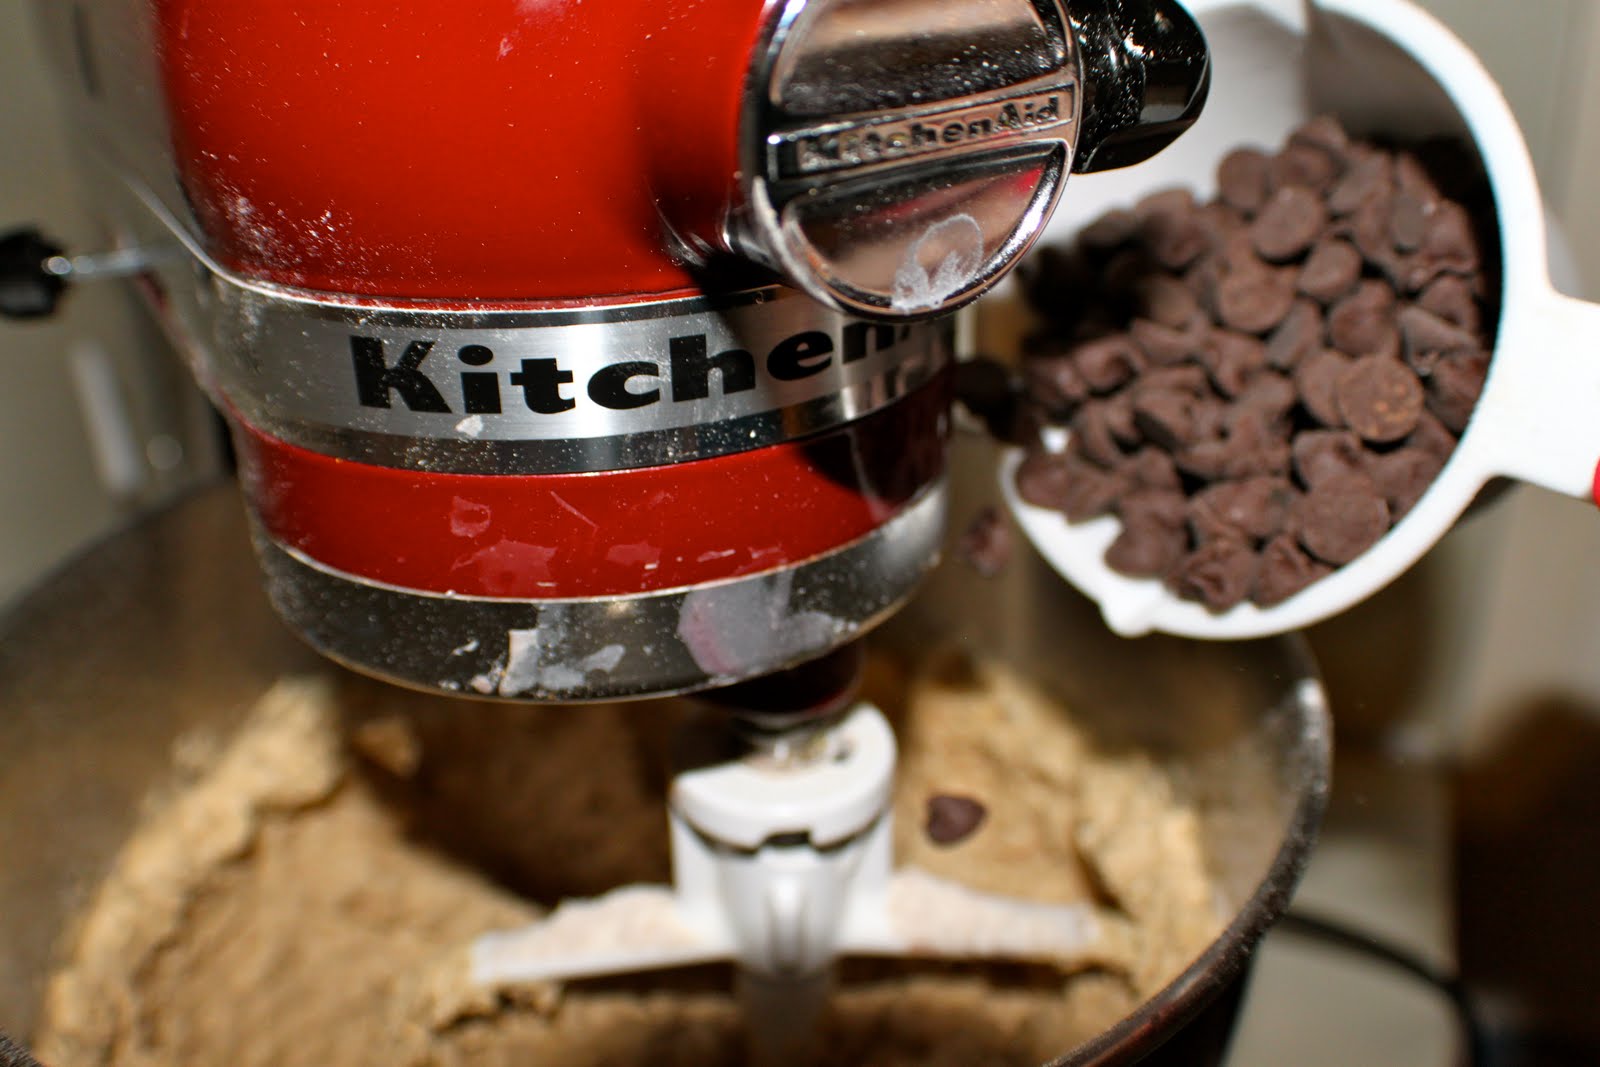
4.) Beat butter (softened) for 2-3 minutes in a Kitchenaid mixer, or until fluffy.  Add sugar and mix fully; add eggs 1 add a time allowing for each one to be properly mixed in after each addition.


5.) Add vanilla extract, baking soda, and melted chocolate (can use Nutella here if you don't have high quality dark chocolate).  Mix to integrate.


6.) Now, add the wet mixture--whiskey/coffee/cocoa--and the dry mixture to your butter batter by doing 1/3 of each at a time, but back and forth.  Start by adding 1/3 of the whiskey mixture, then 1/3 of the 2 cups flour.


7.)  Now add the second third of the whiskey mixture and second third of the 2 cups of flour.  Continue until all ingredients are fully integrated.


7.) Once batter is fully integrated, scrape down the sides of your bowl to add any leftover dry ingredients.  Mix one last time and pour into a 10-12 cup bundt pan.


8.) Bake in oven at 350F for 45 minutes or more, or until a knife comes out clean.  Remove from oven and allow to cool for 5 minutes before transferring cake to a plate.

9.) Sprinkle with powdered sugar and fresh bourbon whiskey; makes 12.


Subscribe to Clearly Delicious by Email

Thursday, July 1, 2010

Chocolate Almond Cake


"I want you to make me your Chocolate Almond Cake for my birthday.  I've already decided! I'm turning 30, so I get what I want!" my friend Ellen said to me on one of our nightly run/walk/biking/exercise trips.  Ellen is fabulous--she's my friend Kris's wife, super cool, super smart, super gorgeous, and pretty much Super Woman (mom, wife, great cook, family administrator, and the list goes on and on.  Oh, and she speaks French when she's drunk.  She's pretty great).  SO, when she tells you she wants something, you do as she says!

Why Ellen would want this cake for her birthday makes complete sense to me: it's my ace up my sleeve, my secret weapon, my culinary super power when dealing with baked goods.  It's just that good: moist, dark chocolate cake infused with almonds, and decadent chocolate buttercream icing infused with almonds and layered with shaved almonds.  Just writing about it makes me think of the snazzy and tasty presentation this cake always makes.

I made the cake last year for Ellen's 29th birthday and I kept hearing about it for the following 365 days.  So this post is specially for Ellen Mecholsky for doing one of the hardest jobs in the world--mother, social acrobat, stellar wife, and exercise companion--all before your 30th birthday! Enjoy this Clearly Delicious chocolate cake!

Chocolate Almond Cake
This recipe is a variation of Elise Bauer's "Suzanne's Chocolate Cake" over at Simply Recipes (you can find it here).  I've made numerous changes to the original--transferring out regular Vanilla Extract for Almond Extract, adding Shaved Almonds to the frosting, dividing the layers into 4 (not 3), and a general revision to the order in which ingredients are added during the Beta Stage (get it? Beta? Baking?!) of the cooking process.  For my technique, please see below; for Elise's (which is equally as good), see the above link to Simply Recipes.


Ingredients:
--Cake--
* 3 cups all purpose flour
* 1 1/2 tsp salt
* 3/4 tsp baking powder
* 1 1/2 tsp baking soda
* 2 2/3 cup sugar
* 4 extra large, or 5 large eggs
* 1 cup + 2 tablespoons cocoa, unsweetened
* 1 cup + 2 tablespoons water
* 1 cup + 2 tablespoons canola (or vegetable) oil
* 3/4 cup water
* 2-3 tablespoons almond extract
* 1 tablespoon vanilla extract, optional

--Frosting--
* 2 pounds powdered sugar (32 ounces, or 4 cups)
* 1 1/2 cup cocoa, unsweetened
* Almond Extract, to taste
* 2 1/2-3 cups butter (4 sticks), softened, but still firm cut into 1 inch cubes

1.) Preheat oven to 350F.  Spray down four 8-10 inch cake pans.  Set aside.


2.) Begin by sifting the dry ingredients: salt, baking powder, flour, and baking soda.  Sift and set aside.


3.) Now, create the wet mixture with a canola (or vegetable) oil and water base.  Mix 1 cup + 2 tablespoons oil with 1 cup + 2 tablespoons water in a Kitchenaid mixer for 2 minutes.


4.) Once oil and water have been mixing for 2-3 minutes, add your eggs, 3/4 cup water, almond (and vanilla if using it) extract; mix on low-medium for 1-2 minutes until fully integrated.


5.) Add sugar and cocoa.  Mix until integrated making sure to scrape down the edges of your bowl.

6.) Now, add the dry ingredients slowly until fully integrated.  Make sure to scrape down the sides during the mixing process so that all of your dry ingredients and wet ingredients mix properly.


7.) Now you're ready to pour the batter into the cake pans.  Pour batter evenly into four 8-10 inch cake pans and shake to smooth.  Bake for 20-25 minutes, or until a knife comes out clean.  Transfer to cooling rack and allow to cool.


Frosting:
1.) Once cake has thoroughly cooled (the cake should not be warm to the touch), prepare the icing.

2.) Cut 4 sticks of butter into one inch cubes and add to your Kitchenaid Mixer.


3.) Add 1 1/2 cups cocoa, and turn on low speed to integrate.

4.) Drizzle in 1-2 tablespoons almond extract; slowly add 4 cups powdered sugar.

5.) Once powdered sugar is integrated, slowly add 1/4 cup or more of water until frosting is the consistency you like.  Adjust flavor with more almond extract.

6.) Scrape down sides of bowl and mix one last time.  You are now ready to frost the cake!


Cake Construction:
1.) Begin by laying the flattest layer on a serving dish.


2.) Frost entirely.


3.) Take second flattest layer upside down on top.  Frost thoroughly and place third layer on top.


4.) Frost next layer: here's a tip on frosting a cake fast & effectively: take a large spoon/dollop of icing and plop it onto the layer you're about to ice.  Spread evenly over the surface of the layer working your way to the sides.  The dollop technique is one used by professional bakers and is the most effective way to ice a cake without constantly adding more icing and getting patches of uneven frosting.


5.) Finish icing top layer and smooth sides making sure that any gaps between the layers (there will definitely be some!) are filled in with icing.


6.) Add almonds.  Another note: technique is crucial here to getting cleanly applied almonds around the sides.  Take a handful of almonds and sift them in the palm of your hand so that they are as evenly dispersed in your palm as possible.  Take palm and "slap" them onto the sides of the cake.  Once you've applied all the almonds from your hand, wash hands and continue doing this same step all around the edges of the cake.   This is a long process as it requires constantly washing your hands--any chocolate frosting that sticks to your hands WILL get on the almonds and make the job/process harder than it should be.  It will also make the almonds look chocolatey/messy, and take away from the cake's presentation.  However, whatever almonds don't stick will fall to the base of the cake (which is fine); make sure to use fallen almonds to hand apply to empty spots.

When you're done, you want the cake's almond layer to be clean.  They should look this:


7.) Serve to awesome birthday friend:


8.) Give some to her daughter:


9.) And don't mind the finger-prints.  The cake is still Clearly Delicious!


Subscribe to Clearly Delicious by Email

Saturday, June 19, 2010

Chocolate Oatmeal Pecan Cookies


On a pretty regular basis, I think to myself, "I have some really fantastic friends.  I'm a lucky girl."  Not to be a sap or anything, but it's true--I know some wonderful people.  When one of those wonderful people, Ms. Sarah Gregory, helped me out after making a rather goofy mistake, I decided that I would pay her back the best way I knew how: cooking.

Specifically, Sarah requested that I make her an Oatmeal Raisin Cookie recipe that I made her the first time we met, but with one major change: instead of raisins, Sarah wanted chocolate chips.  The result? A cookie that couldn't get any better--a melt in your mouth chocolatey, nutty, oaty experience that seems more like a meal than a delicious snack.  Make this recipe with the original raisins it calls for, OR with chocolate chips.

Chocolate Oatmeal Pecan Cookies
As always, this recipe pays tribute to the one and only Foodblogtress, Elise Bauer at Simply Recipes.  For her original version of this recipe, please see here.  I've adjusted some of her measurements and switched out the raisins for chocolate chips, but otherwise, this cookie is pretty much the same as the one she has listed from her grandmother.


Ingredients:
* 2 sticks butter, softened
* 1 cup brown sugar, packed
* 1 cup regular sugar
* 1 1/2 cups all purpose flour
* 3 cups rolled oats (not the instant kind)
* 1 1/2 cup raisins, OR chocolate chips
* 1/2 cup pecans, or walnuts (optional)
* 1 tablespoon vanilla extract
* 1/2 teaspoon almond extract
* 1 teaspoon salt
* 1 teaspoon baking soda
* 1/2 teaspoon nutmeg
* 1 teaspoon cinnamon
* 2 large eggs, beaten


1.) Preheat oven to 350F.  Grease cookie sheet(s) with butter and set aside.

2.) In a standing mixer, combine butter (cut into 1 inch cubes and softened) and sugars.  Beat until fluffy.


3.) Add eggs one at a time.


4.) Add vanilla and almond extract, salt, baking soda, cinnamon, and nutmeg.  Mix to combine.

5.) Measure 3 cups rolled oats and add them to the batter slowly.


6.) Add 1 1/2 cups flour.  Mix to integrate; scrape down sides to fully combine.

7.) Add 1 12 ounce bag of chocolate chips.


8.) Add 1/2 cup pecans, or walnuts and mix to fully integrate.  Scrape down sides for any leftover dry ingredients and mix one last time.  Remove mixing paddle and bowl from mixer.


9.) Now, begin to dish out your cookies.  The best technique when making cookies of any kind is to use an ice cream scoop as your dough dispenser.  So, scoop out cookie dough evenly and in perfectly spaced dough balls the same way you would ice cream.


10.) Bake in 350F oven for 10 minutes, or until golden brown.  (NOTE: a key tip when making this recipe is that at about 10 minutes, the cookies will be thoroughly cooked, but decently chewy.  Any longer will increase the crispiness of the cookie and run the risk of burning.  Thus, if you prefer crispier cookies, then by all means add a minute or two to the cooking time, but no longer!)

11.) Try not to eat them before transferring them to the plate!


12.) Remove cookies from oven and allow to cool.  Makes about 3 batches at 12 cookies each (36 cookies).  Enjoy!


Subscribe to Clearly Delicious by Email

Sunday, April 4, 2010

Jeramey's Birthday Party!


March and April are two very busy months when it comes to birthday parties.  Everyone seems to be celebrating a birthday, and I find myself in a heightened demand for cooking. 

Saturday night, we held an early birthday party to celebrate a Mr. Jeramey Jones's 28th year.  Photos courtesy of Jeramey's fancy camera and recipes forthcoming!


Subscribe to Clearly Delicious by Email

Sunday, March 28, 2010

Chocolate Bourbon Cake

When Sam & I decided to host another dinner get together this last Friday, I wanted to follow up my last cake with one that involved waaay less frosting and more class.  One that was attractive with less work, but sexy with the hint of some robust flavor.  Then, I saw what Elise Bauer referred to as

"Chocolate. Bourbon. Cake. I think the moment my father spied this recipe in the New York Times he was a goner. ("You had me at chocolate.") Nothing was going to stop him from making this cake. When he found out I possessed a 10-cup bundt pan, that was it, he was half-way to the store getting chocolate and instant espresso for the recipe." 


As you can see, we foodies take our recipes very seriously.  Elise's father went on a shopping rampage with the suggestion of the recipe, and I too, went on a similar cooking rampage.  Not nearly as humorous, but certainly as delicious.

The below cake is the moistest of dark chocolate cakes I've ever made.  It's rich without being decadent and quite literally "melts" in your mouth.  Although one of my food fans said the cake was a little too "boozy," I think the best way to articulate the bourbon's mix with dark chocolate is that some bites are richly chocolatey and others remind you of a nice shot of bourbon.  With these two lingering tastes, this cake is clearly delicious!

Chocolate Bourbon Cake
This recipe, like many of mine, comes from Master Foodblogress Elise Bauer over at Simply Recipes and can be found here.  As the recipe's legend has it, her father saw the below recipe in the New York Times food section and could hardly contain himself with the idea of baking up a dark, moist, chocolatey cake infused with the magic of Bourbon.  Well, upon reading this recipe, I too was similarly impressed.  Follow the recipe to a "T" as it is very difficult to alter.  The one area in which moderation is possible is the "instant coffee" or "espresso" option.  I used a 1/4 cup of coffee and skipped the steeping instant coffee alternative.  I'd suggest doing the same as no one likes instant coffee...not even when it's snuck into the deep recesses of a cake batter.


Ingredients
* 2 sticks butter, slightly softened
* 2 cups all purpose flour; or, for my version: 1 cup wheat flour, 1/2 cup cake flour, and 1/2 cup bread flour (I was feeling daring and the result was delicious!)
* 6.5 ounces dark chocolate, the nice variety, melted
* 1/4 cup brewed coffee
* 2 tablespoons unsweetened cocoa powder
* 1 cup bourbon whiskey, I used Jim Beam as I had it leftover from the Bourbon ham recipe
* 1/2 teaspoon kosher salt
* 2 cups granulated sugar
* 3 large eggs
* 1 tablespoon vanilla extract + 1 teaspoon almond extract
* 1 teaspoon baking soda
* 1/4 cup confectioner's sugar for dusting

Special Equipment Needed:
* 1 10 cup capacity bundt pan
* 1 sifter

1.) Preheat oven to 325F and grease and flour a large bundt pan.  Set aside.

2.) Begin by preparing the coffee, bourbon, + cocoa mixture.  Pour coffee, Bourbon, & Cocoa into a 2 cup glass measuring cup.  Add salt and stir.  Set aside and allow to "cool" if necessary.

3.) Chop up 6.5 ounces of dark chocolate and add to a microwave safe bowl.  Sprinkle with water and heat on high for 30 seconds.  Stir after 30 seconds and continue these two steps until chocolate is fully melted.

4.) Beat softened butter until fluffy (about 2 minutes in the Kitchenaid Mixer) and add sugars.  Mix to integrate and scrape down sides of bowl to fully incorporate ingredients.  Add eggs one at a time, allowing for each one to be fully integrated.  Mix in baking soda, vanilla extract, and melted chocolate.  Scrape down sides and proceed to step 5.

5.) Now, add the bourbon and flour mixtures.  Begin by adding 1/3 of the bourbon mixture and mixing to fully integrate.  Add 1/2 of the flour mixture to fully integrate.  Add half of what's left of your bourbon mixture.  Then, add the last of the flour mixture, mix to integrate.  Finally, add the remaining bourbon mixture.  This process may seem tedious, but it's the best way to properly integrate both the wet and dry components of this cake.

6.) Scrape down sides of bowl to make sure your batter is fully mixed up.  Your batter will be a creamy almost pudding-like consistency and this is good! Scrape batter into prepared bundt pan and smooth on top.  Pop into oven and cook for 45 minutes or longer.  Cooking times vary on this recipe.  I checked my cake at 40 minutes and it was almost done, whereas Elise calls for an hour and fifteen minutes.  The best rule of thumb here is to check at around 40 and see what your oven's cooking temperament is.

7.) Remove from oven when a knife comes out clean.  Allow to sit for five minutes, and then, carefully, loosen the cake from the pan.  I like to scrape along the perimeter with a knife and then tap the bundt pan all around the outside with the handle. This scraping and taping procedure seems to loosen a cake nicely and decrease risk of sticking.

8.) Place a plate over the top of your bundt pan and with the help of oven mits, luck, focus, and charm, quickly flip the pan & plate upside down.  Set plate on a level surface and slowly lift up the bundt pan.  If you do this last step too quickly, you risk the cake sticking and tearing.  So, as you're lifting up the bundt pan, check to feel if the cake pulls at all.  If it does, set the pan back down on the plate and proceed to tape all around the bundt to loosen the cake some more.  It will eventually, but you must be patient!

9.) Once cake is fully loosened, allow to cool and sprinkle with powdered sugar right before serving.  I use a sifter for an even snow-fall effect.  Enjoy!


Subscribe to Clearly Delicious by Email

Sunday, March 21, 2010

Fondant & Sam's Chocolate Chocolate Cake


I'm beginning to become a bit of a cake lady.  I've always been the first to offer to bake a cake for a friend's birthday and have, for years.  But, the last couple of cakes I've made have been more ambitious than anything I've made before now--they've involved homemade fondant, hand cut shapes, colors, designs, and so much more.  (See the Coconut Cake recipe for Lydia's birthday to see what I mean!).

This weekend I made the ultimate black & white hipster cake for my friend Sam's birthday--a dark, dark chocolate cake covered with black chocolate fondant and a top layer of vanilla cake with vanilla bean icing and vanilla fondant.  I served the cake at a fabulous birthday party for my friend Sam last night, and by and large, rumor had that it was clearly delicious!

Chocolate Cake
This cake comes from Elise Bauer's friend Suzanne over at Simply Recipes and can be found here.  This cake is fantastic: an intense amount of chocolate mixed with an intense amount of chocolate makes for a moist, decadent cake. 

Ingredients
* 3 cups cake flour
* 1 1/2 teaspoon salt
* 3/4 teaspoon baking powder
* 1 1/2 teaspoon baking soda
* 2 2/3 cups sugar
* 1 cup + 2 tablespoons cocoa
* 1 cup + 2 tablespoons water
* 1 cup + 2 tablespoons canola oil
* 5 large, or 4 extra large eggs
* 3/4 cup water, additional
* 1 1/2 teaspoon vanilla extract
* 1 1/2 teaspoon almond extract

Frosting
*1 pound (16 oz) powdered sugar
* 1 cup dark cocoa
* a flavoring liquid--almond extract, vanilla extract, rum, or water
* 1 1/4 cup - 1 1/2 cup butter

1.)Preheat oven to 350F.  Begin by mixing the dry ingredients in a separate bowl--flour, salt, baking soda, cocoa, baking powder.  Use a whisk or sifter.

2.) In a separate container, preferably your Kitchenaid mixer, mix 1 cup and 2 tablespoons water and 1 cup and 2 tablespoons canola oil.  Mix on low-medium for one minute.

3.) Add eggs, 3/4 cup water, sugar, vanilla and almond extract.   Mix for 3-4 minutes with your Kitchenaid Mixer (a couple of minutes longer with your hand and whisk).

4.) Grease 4 regular size cake pans (either 8 in. or 10 in.).  Pour cake batter evenly into each pan and bake for 25-35 minutes, or until a toothpick comes out clean.  Allow to cool.


Prepare Frosting
1.) First, whisk cocoa and powdered sugar, or pulse several times in a food processor.

2.) Drizzle in--until the consistency of firm butter--several tablespoons of flavoring liquid (I used an amalgam of almond extract and vanilla, but you can use rum, or even water).

3.) Add 1 1/4-1 1/2 cups butter (firm, but not too soft or hard) to powdered sugar + flavoring liquid mixture.  I used my Kitchenaid and its paddle to properly integrate the two ingredients.  Mix on low speed for several minutes, or until dark chocolate in color.  Scrape down sides of the bowl and taste.  The consistency should be smooth enough to spread, but also firm enough to hold the cake together.


4.) Ice cake--between the layers, the top, and all around the sides.


FONDANT
This recipe comes from a chef named Peggy Weaver whose food and cooking website--Peggy's Baking Corner--is certainly worth checking out for all of its useful tips on cake baking, fondant, and the like.  You can find this basic fondant recipe here.

Ingredients
* 16 oz. white mini marshmallows
* 2 to 5 tablespoons water
* 2 pounds powdered sugar
* 1/2 cup Crisco

OTHER INGREDIENTS
* 1 small bottle of McCormick's black food coloring (if you're preparing the black layer, then use the below recipe and the entire small bottle of black food icing.  It will be very black and you will be very pleased!).

1.) Begin by melting the marshmallows.  Peggy suggests you use the microwave, but the quantity of fondant this recipe yields is better suited for a large deep skillet on your stove top.  Using a big deep skillet, add all of the marshmallows, 2 tablespoons water, and the bottle of food dye if you're making the black layer of fondant (it's water based, so the food coloring will easy substitute as the water necessary for this recipe).  However, if you're not dying this layer of fondant, add 2 more tablespoons of water.

2.) Stir constantly until mixture is smooth.  Add 3/4 of the powdered sugar (just short of 2 lbs of powdered sugar) and mix in until fully integrated.

3.) Grease clean surface or counter and add the remaining 1/4 cup of powdered sugar.  Empty pan onto surface and thoroughly grease your hands.

4.) Begin kneading the fondant like dough.  Add the powdered sugar thoroughly and continue to knead until a stiff, but sticky dough forms.  If your dough tears too easily, add a tablespoon of water until the texture feels stiff and stretchy.  If the dough is too wet, add more powdered sugar, or a teaspoon of corn starch at a time.

5.) Wrap fondant in plastic wrap and refrigerate overnight.  Fondant will keep in the freezer for a couple months, but I prefer to use it within 24 hours. 


6.) When ready to roll out the fondant, thoroughly flour your surface with corn starch and the dough ball.  The fondant will be stiff and will need a lot of kneading until it begins to yield to your pressure.  Roll with a standard rolling pin to the desired layer of thickness (but not too thin).  Lay over iced cake and trim excess fondant off with a pizza cutter.

7.) Serve final cake to hungry hipsters and ENJOY!


Say hello to Sam and his fellow birthday friend:


Subscribe to Clearly Delicious by Email